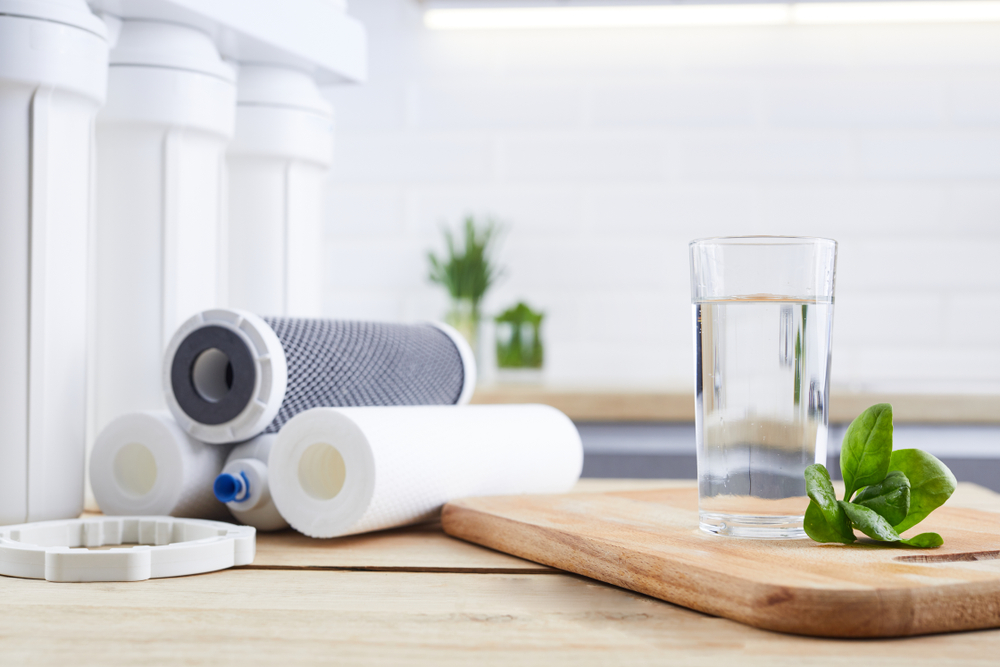
Reverse osmosis filters can effectively make your drinking water clean, crisp, and safe, and changing them regularly extends your reverse osmosis system’s lifespan. Furthermore, it promotes the efficacy of the system by ensuring it runs smoothly.
A reverse osmosis filter change can be a quick process once you know what you are doing and gather the proper tools.
Keep reading to learn how to change reverse osmosis filters and the best time to do it. We will cover ways to optimize your RO system for clean and healthy drinking water.
How to Change Reverse Osmosis Filter
While RO filters replacement may seem challenging at first, the process simplifies greatly by acquiring the necessary equipment and your RO system’s manual.
It requires little skill, and you can do it without plumbing or other installation experience as long as you follow these steps.
1. Select the Correct Filter for Your RO System
Every RO system has its unique requirements, and not all use the same filter size or type. Choosing the wrong replacement filter can hinder the reverse osmosis process and make the water filtration less efficient. Make sure to inspect your current system to see the type of filter used.
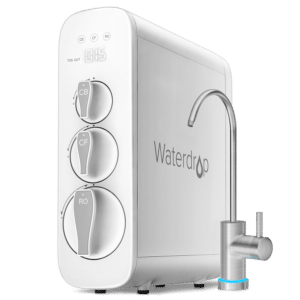
If you cannot tell based on a visual inspection, check out the manual to see the specifications. You will need to measure the size and determine the types of filters and membranes installed. A too-big filter can hinder the system’s performance by not letting it close, and a small one can let extra particles pass through. Reverse osmosis systems generally have these components:
- Sediment pre-filter: This filter collects sediment, dirt, and rust trapped in the water supply and removes particles about five microns long.
- Carbon pre-filter: In this stage, water goes through an activated carbon filter that soaks up pollutants, removes chemicals, and improves the flavor.
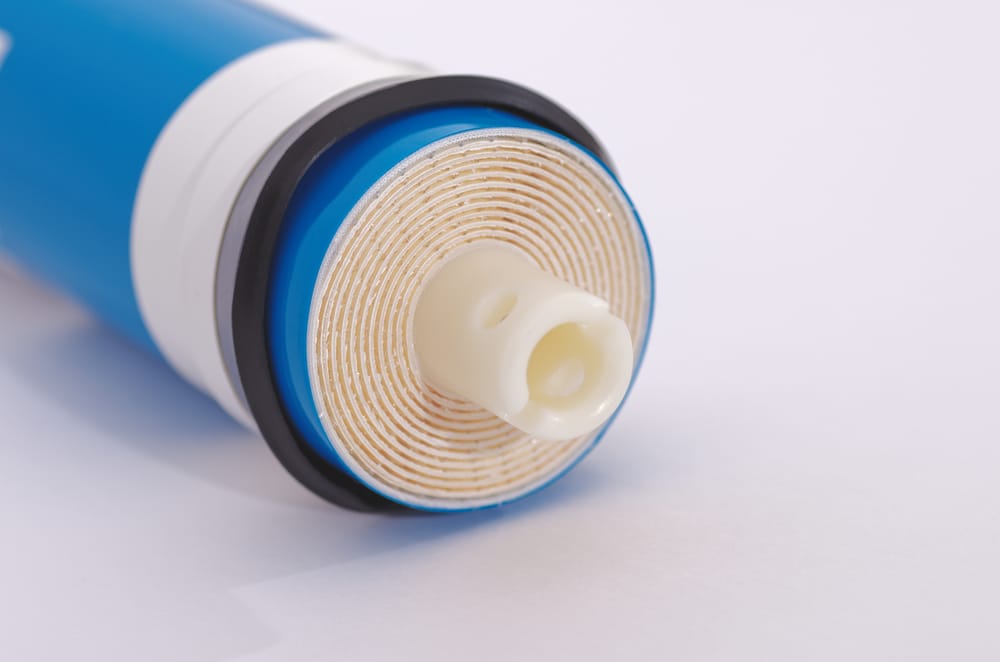
- Semi-permeable RO membrane: This thin-film composite membrane removes about 98% of the total dissolved solids, and it can secure items down to 0.001 microns in length.
- Storage tank: The storage tank collects water until full, and then the RO system shuts a valve that prevents water flow. It holds the water until needed.
- Carbon post-filter: This filter rests between the tank and outlet, and it removes any particles that have passed through the other components.
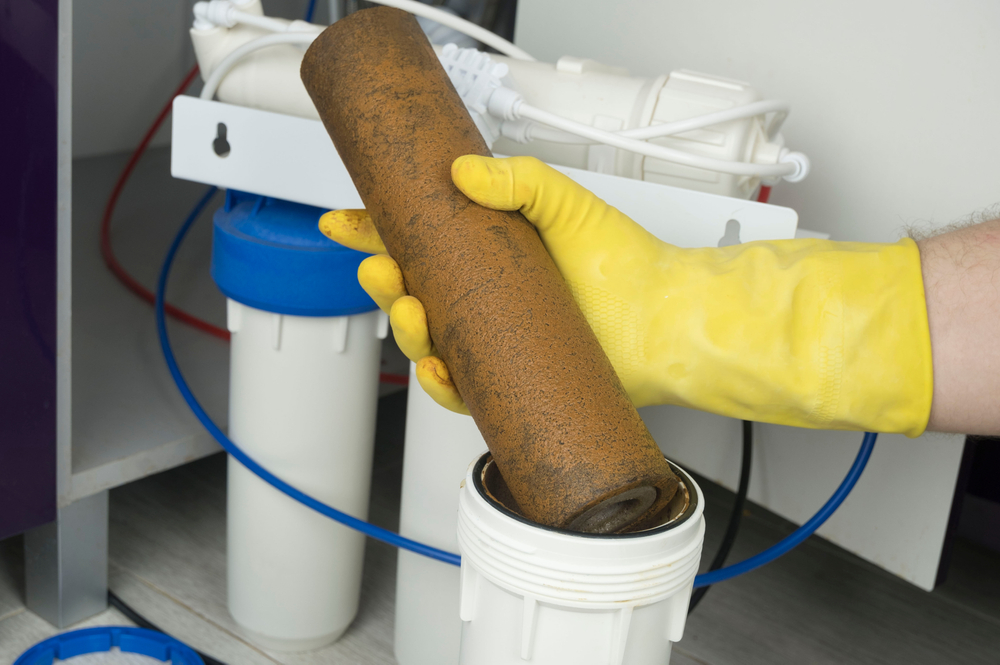
You do not necessarily need to replace every filter or component at once. Analyze each one to see how it performs before making your purchase. Sometimes it will appear dirty from overuse, but you could always contact an expert if you cannot tell.
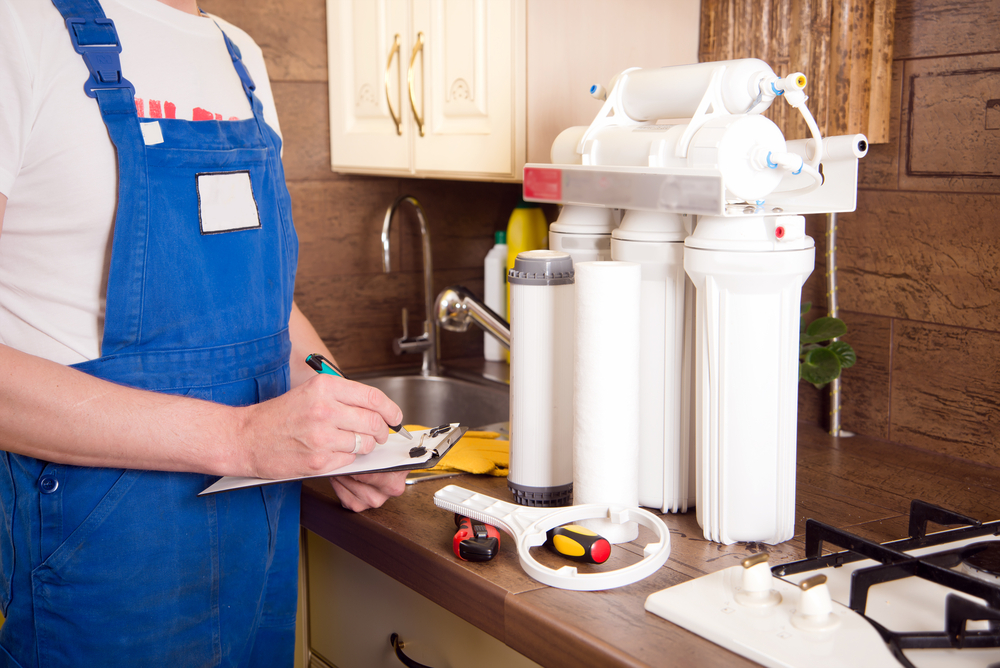
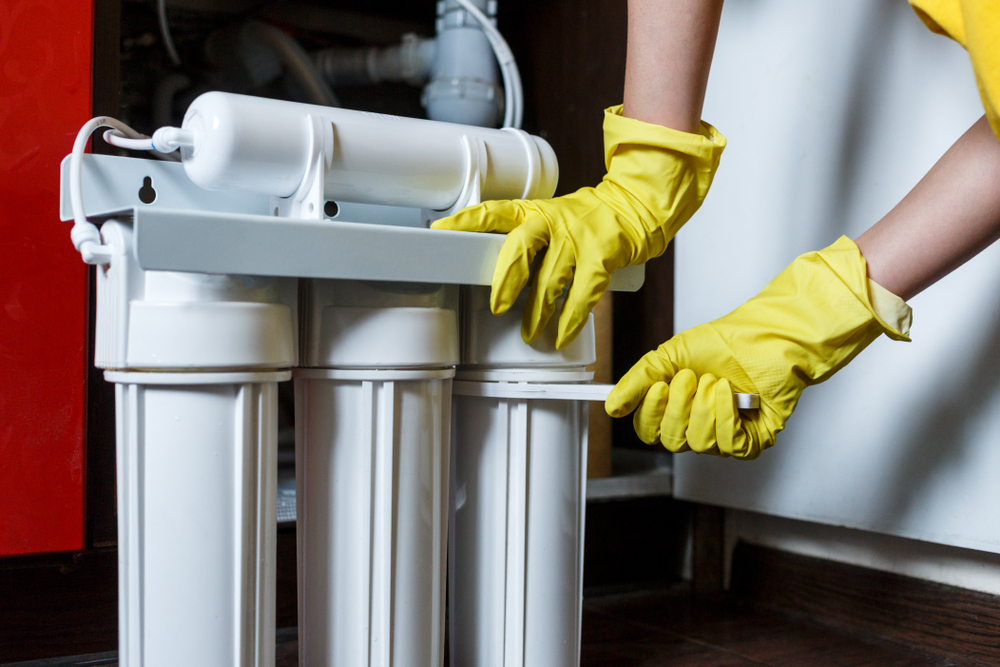
2. Prepare for the Reverse Osmosis Filter Change
After buying the right filter, make sure to leave it in its package until you choose to replace it. Otherwise, it can collect contaminants that affect its performance once installed.
You can prepare yourself by washing your hands with warm, soapy water to remove any dust, germs, or skin particles that could breach the filter. Also, try to wear fresh disposable gloves when handling it. If your hands are clean enough, you can get away without the gloves, but they can only help.
3. Manually Turn Off the Valves
While most RO systems have an automatic valve that closes when the storage tank fills, you will need to turn it off manually to install the new filters. Make sure you shut the supply valve as that will stop water from entering. Then, close any other valves, such as to the storage tank or refrigerator where necessary.
After turning off the valves, you will have to open the reverse osmosis faucet to depressurize the system. You will want to start the installation when your storage tank is nearly empty as you will need to empty it the rest of the way. Next, you close the taps and place a water collector, such as a bowl or bucket, under the unit in case of a leakage.
4. Open the Correct Housing Compartment
RO systems have multiple filters and membranes in different housing compartments. You will need to find the right unit with the dirty filter. Exposing others to the environment could introduce unnecessary contaminants and harm your system. Make sure to reference the manual to ensure you select the right compartment.
Once you have identified the correct housing compartment, you can remove it by unscrewing it clockwise. You may need a filter wrench if you encounter difficulty. After opening it, you clean the inside with hot water and soap. If you would like, you can sanitize it with antibacterial products.
Make sure to cleanse these chemicals off to keep your water safe to drink. After all, nobody likes the taste of bleach!
5. Check the O-Rings
Upon cleaning the housing, you will find some O-rings where the housing closes. Check that they are intact before closing the case. If they are damaged, your system will not seal properly. Ensure that any worn-out O-rings are replaced to prevent leaks. Whether you are using the pre-existing ones or replacements, you should lubricate them with dielectric grease for smooth functioning.
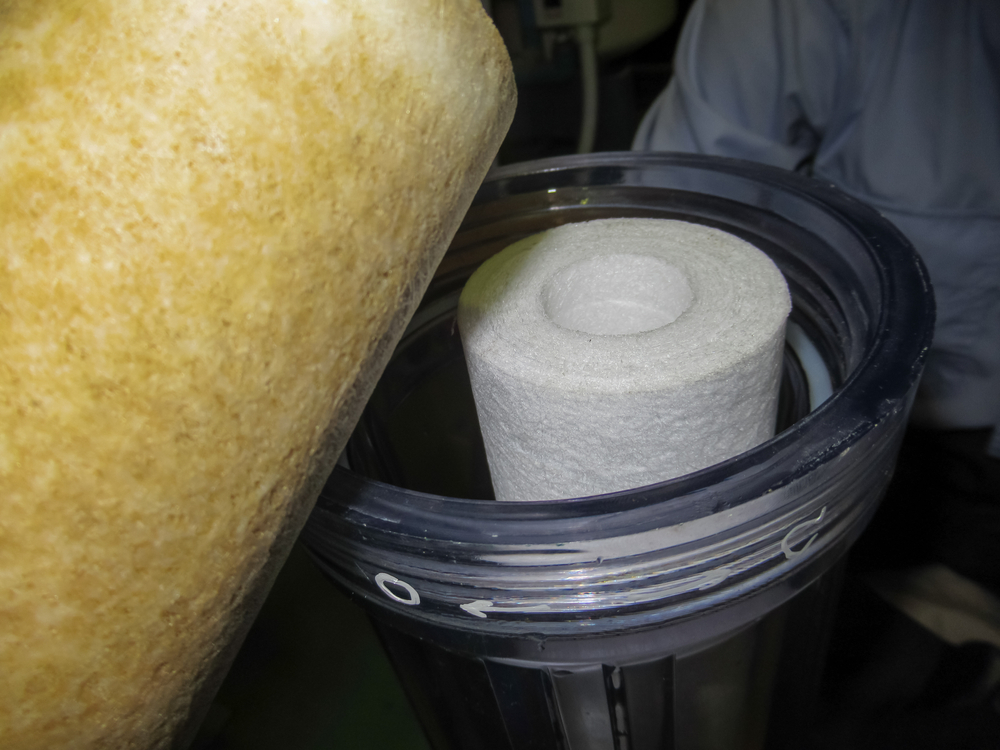
6. Replace the Filter
Remove the replacement filter from the packaging. Using clean hands or gloves, slide the filter in the housing compartment. The correct size should go in without force. Once it is in place, you can screw the casing shut and set it back in the RO system. Make sure that everything fits together securely. The filter wrench comes in handy here to prevent leaks. Check out the manual to ensure you complete this process thoroughly.
7. Turn On the Water
With the new filter in place, you can open the feed water and storage tank valves to replenish your supply. Inspect the system for any leaks as soon as you turn it on to ensure you secured every part. If you find leakage, turn it off immediately and secure the components once more with a filter wrench.
Once you restore the supply, you can turn off the faucet to fill the storage tank quickly. When you turn on the faucet again, the water will be discolored from the carbon fibers in the filters. Let the tank empty and fill once more to get clean drinking water.
RO Membrane Replacement
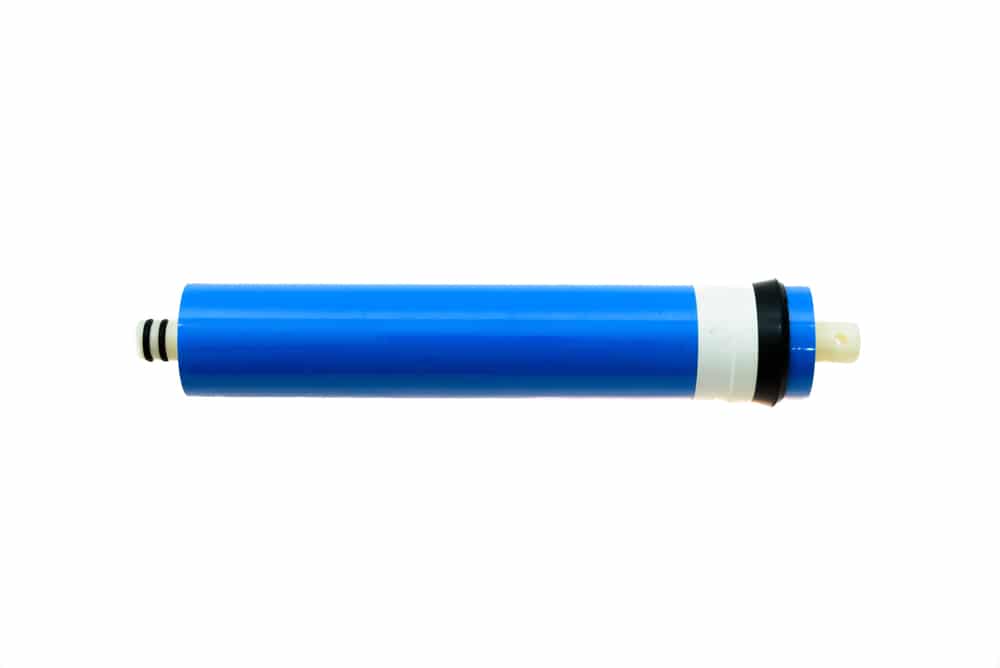
Now that you know how to change reverse osmosis filters, you will want to check out the membrane. RO membrane replacement follows a similar process to the above steps. You shut off the water supply and close all of the valves. Then, you empty the storage tank by opening the faucet. Once drained, you can close the faucet.
Make sure that you have disconnected the carbon post-filter. The thick end of the compartment is the housing cap, which has a water line that needs removal. The water line looks like a tubing connection, and it is connected to the membrane and lies under the cap. Then, you can unscrew the casing and remove the membrane, similar to RO filters replacement.
Due to the membrane’s thin size, you may require needle nose pliers to pull it out. Once removed, you can slide in its replacement. Continue by checking that the O-ring is undamaged and set in the right spot. Then, you screw the housing cap on and trim about ¼-inch from the end of the tubing before placing it back in the fitting.
Place the post-filter back on and replenish your water supply as outlined above to use your reverse osmosis system.
How Often Should You Change Filters & Membranes?
How often you change your filters and membranes depends on how much water you use daily and the cleanliness of your water source.
Filters have capacity limits for how many gallons of water they can clean before needing replacement. The more water you consume, the faster you will need to replace the filters. Dirty water sources can put more stress on filters to clean excessive dirt, chemicals, and sediments as well, shortening your filter lifespan. While it is unreasonable to track the exact gallons of water used, you can check for signs that you need a replacement.
These signs include:
- More wastewater in the drain lines
- Low water pressure and flow rate
- Foul smell or taste of faucet water
On average, you will want to replace your sediment and carbon pre-filters every six months to a year. These earlier filters trap most of the largest particles, so they need more maintenance than the later ones which primarily gather chemicals and microscopic contaminants.
Your RO membrane and carbon post-filter can go one to two years before needing replacement. Some membranes can last for four years.
However, if your filter is no longer efficient after several replacement cycles then it may be time to get a new system. Go over to our best ro systems guide for product recommendations and comparison.
Conclusion
Maintaining a water filtration system does not have to be a stressful process. You can enjoy delicious, clean, and safe drinking water with minimal maintenance.
Although learning how to change reverse osmosis filters seems tough at first, the process is relatively easy to complete. It boils down to buying the correct size, opening the unit, putting it back in, and letting the feed water run through the system a couple of times. Then, you are all done for the next 6-12 months when you will need to do it over again!